Escarole!!

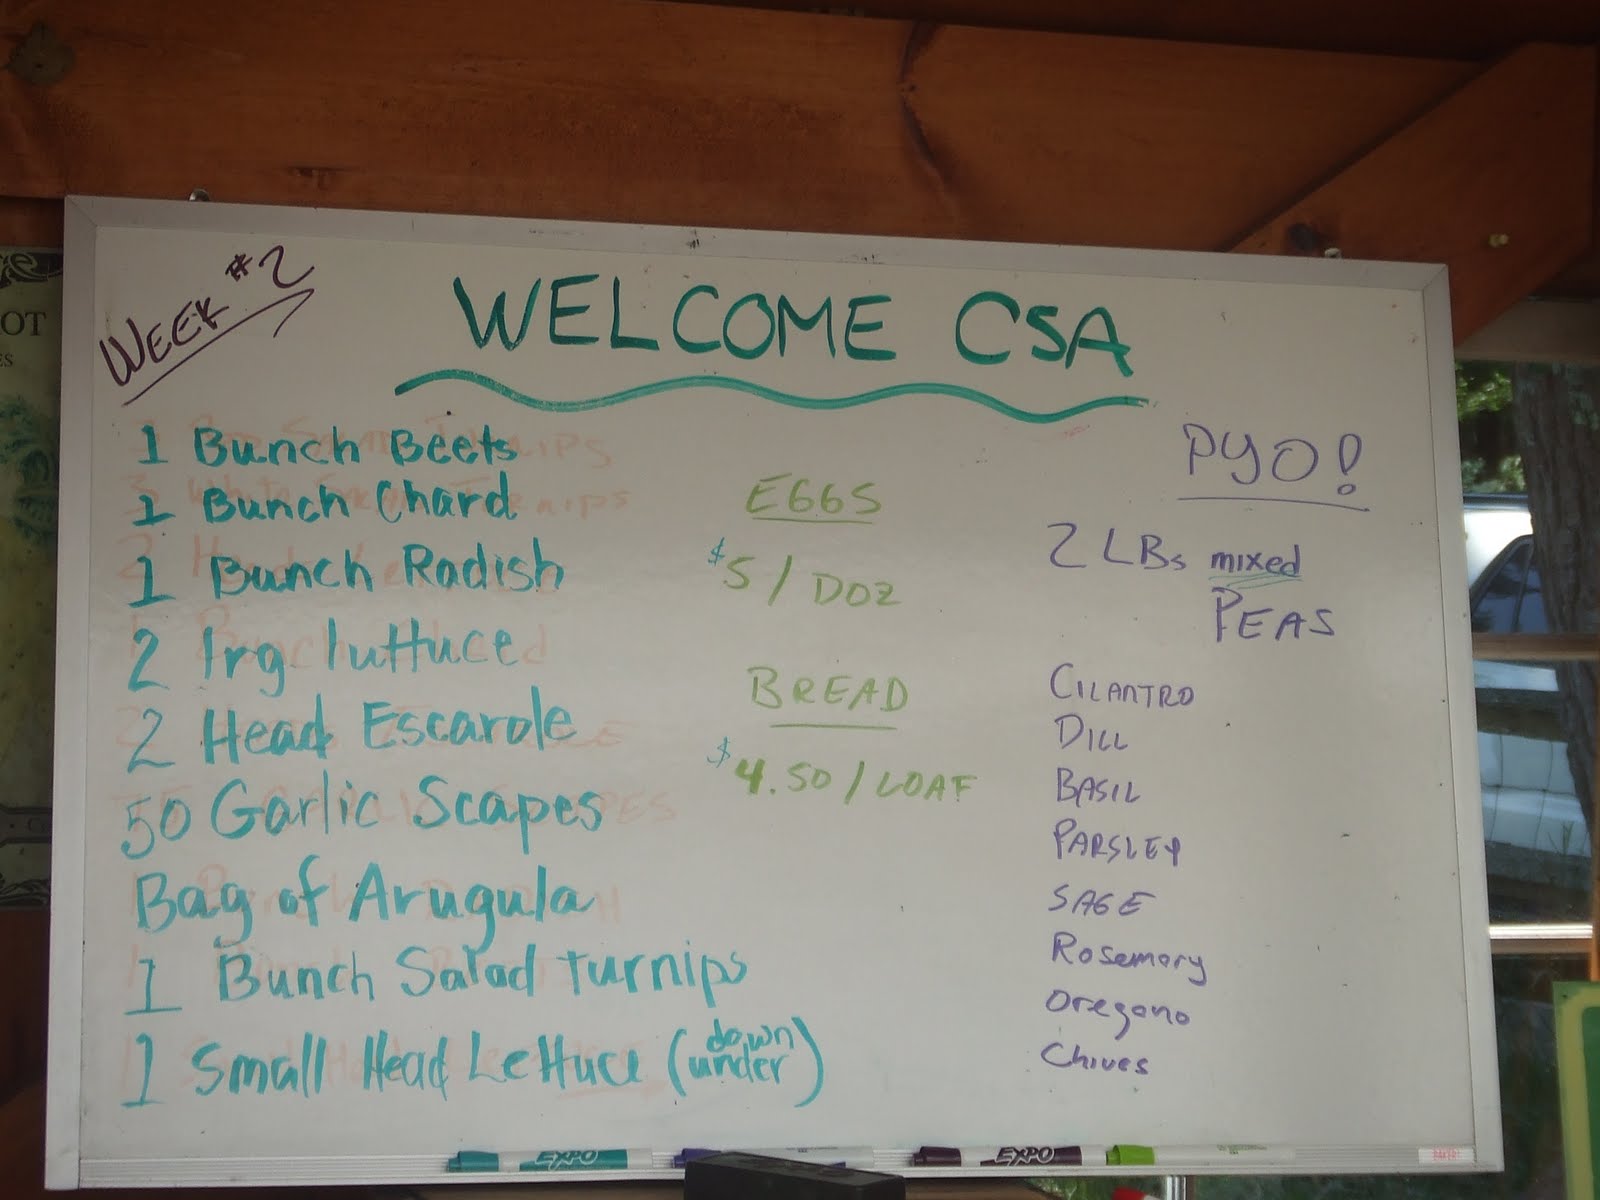
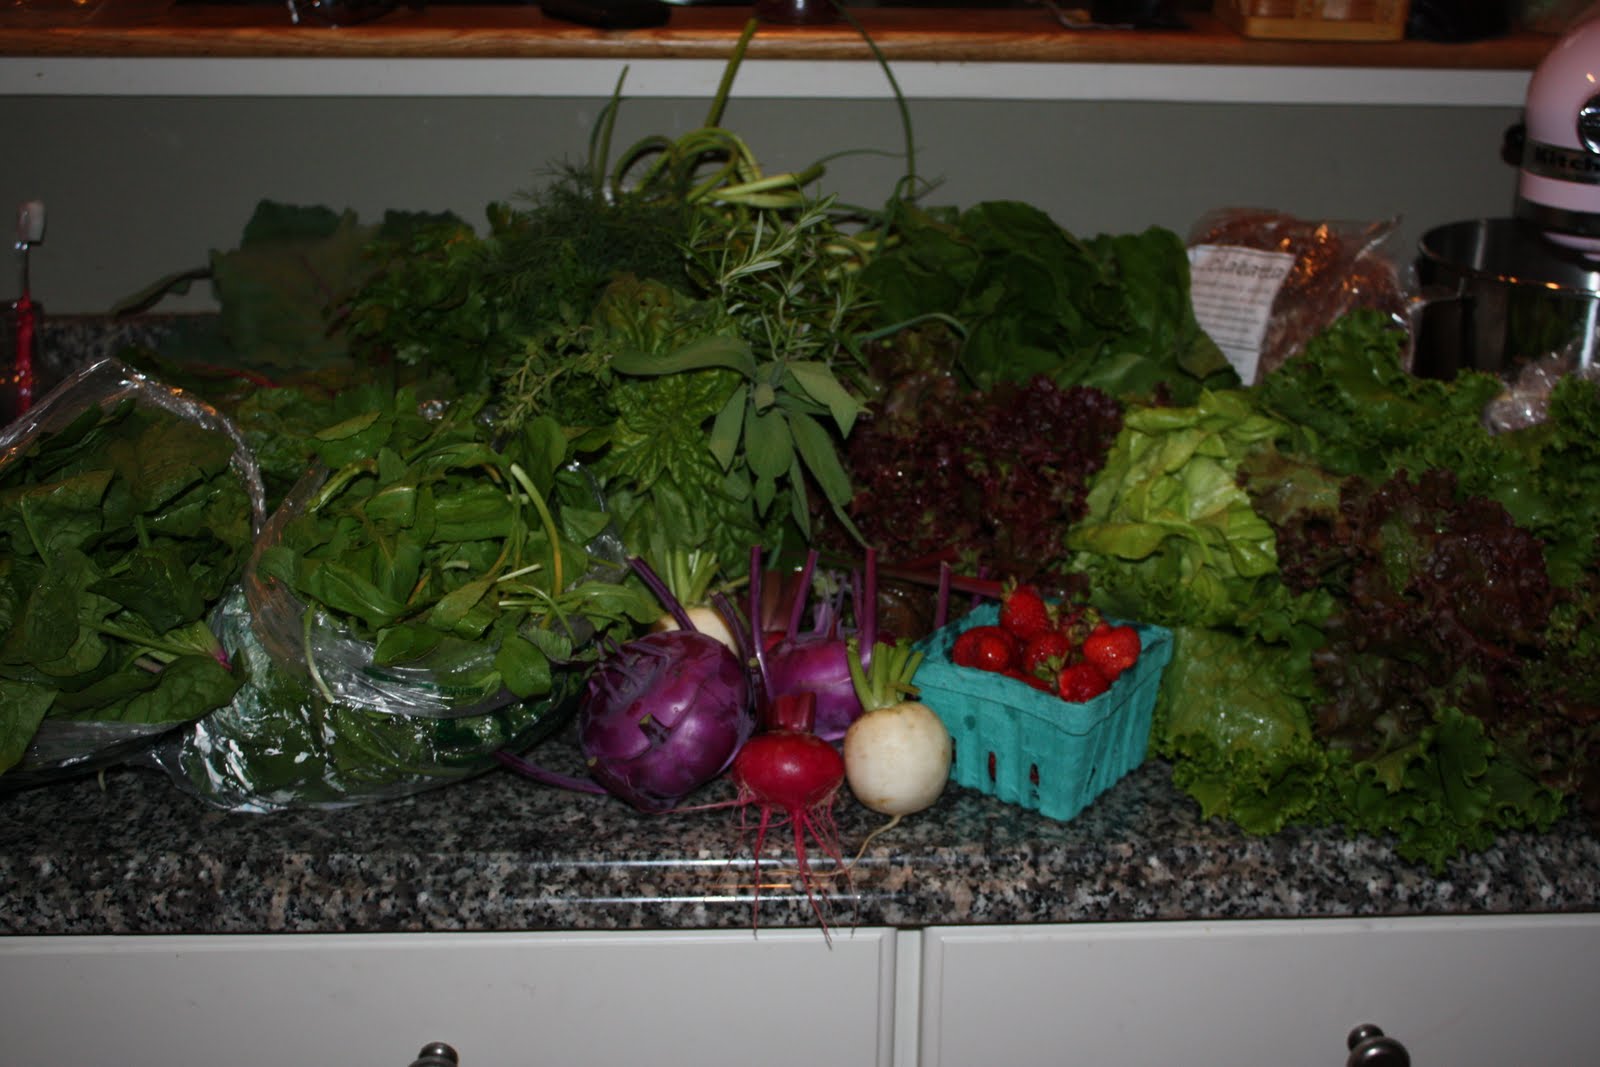
One of the many things that Scott & I were excited about with joining the CSA was trying foods that were new to us. Last week we had the garlic scapes & kohlrabi… this week we had escarole!

I forgot to take a picture of how beautiful the 2 heads of escarole were before I cooked them. I’m hoping for more in this week’s share so that I can add a picture.

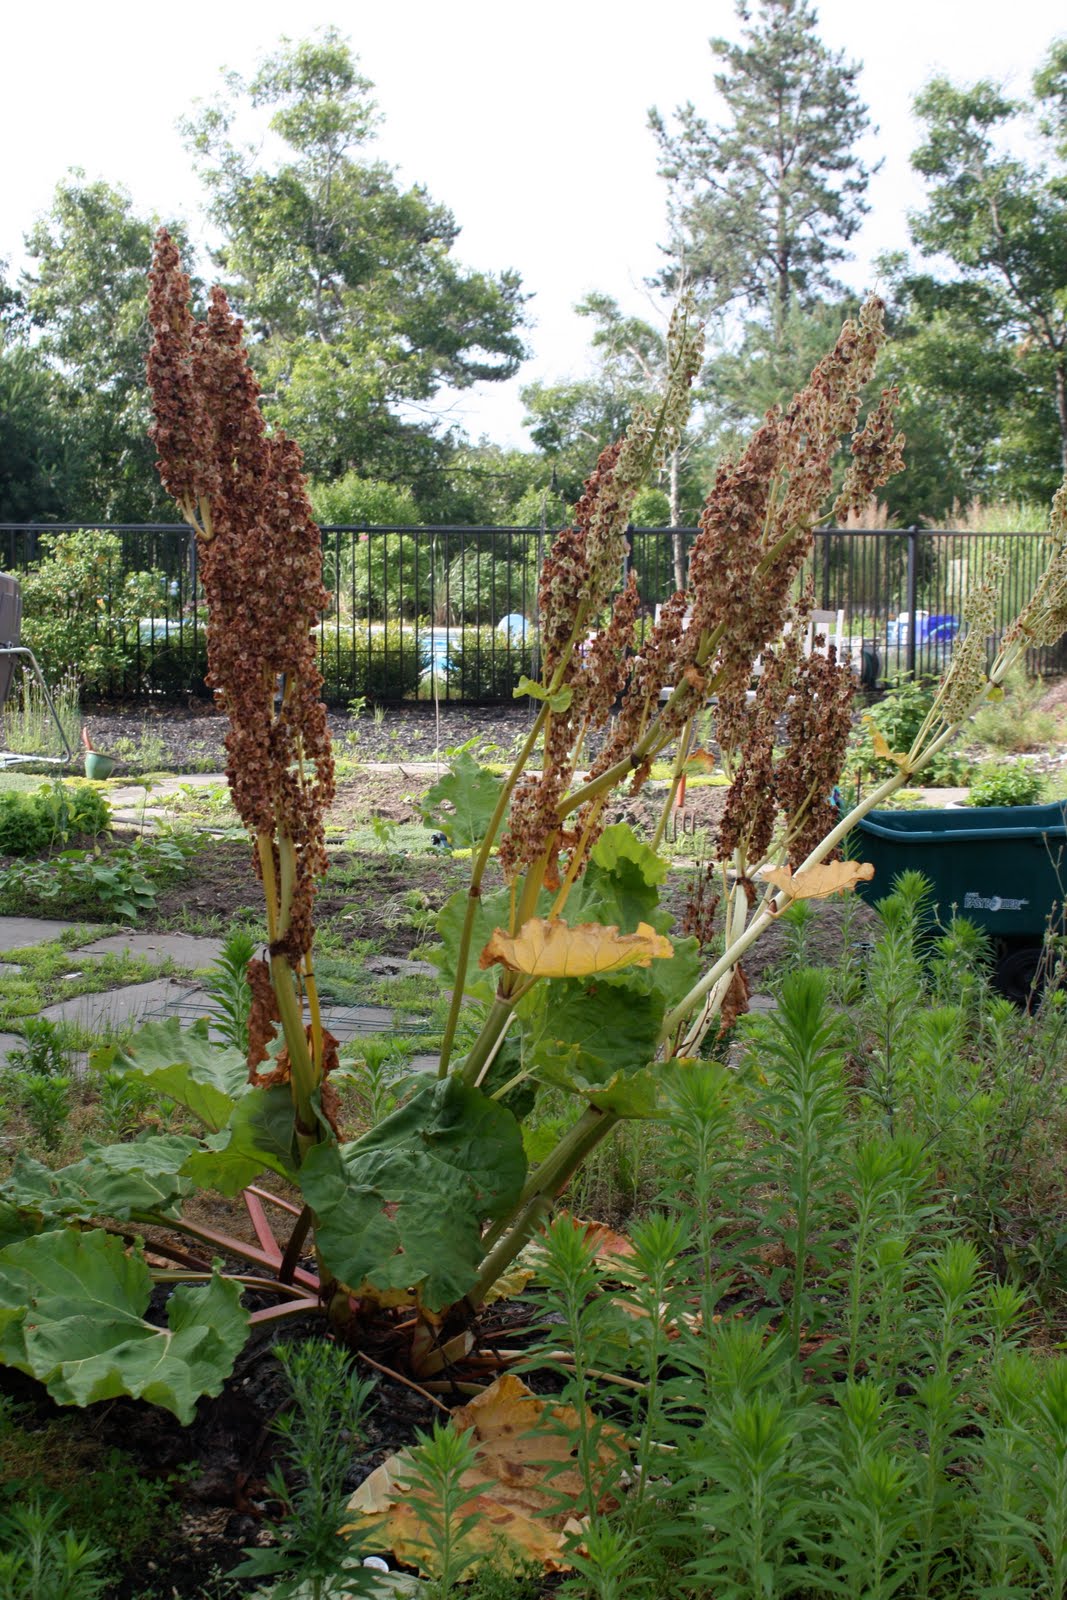
Escarole looks a little bit like leaf  lettuce ( in my opinion) but Debra from Plato’s Harvest Organic Farm
told us that it can be bitter.

A friend of a friend of mine told me that I just HAD to make escarole & beans!

I spent awhile researching recipes & reading reviews & chose this one here from all-recipes.com

Escarole & Beans

I was a little wigged out about not draining the cannellini beans.. I actually almost used another recipe because of that, but I’m so glad that I chose this one.   WOW!  This was amazing!

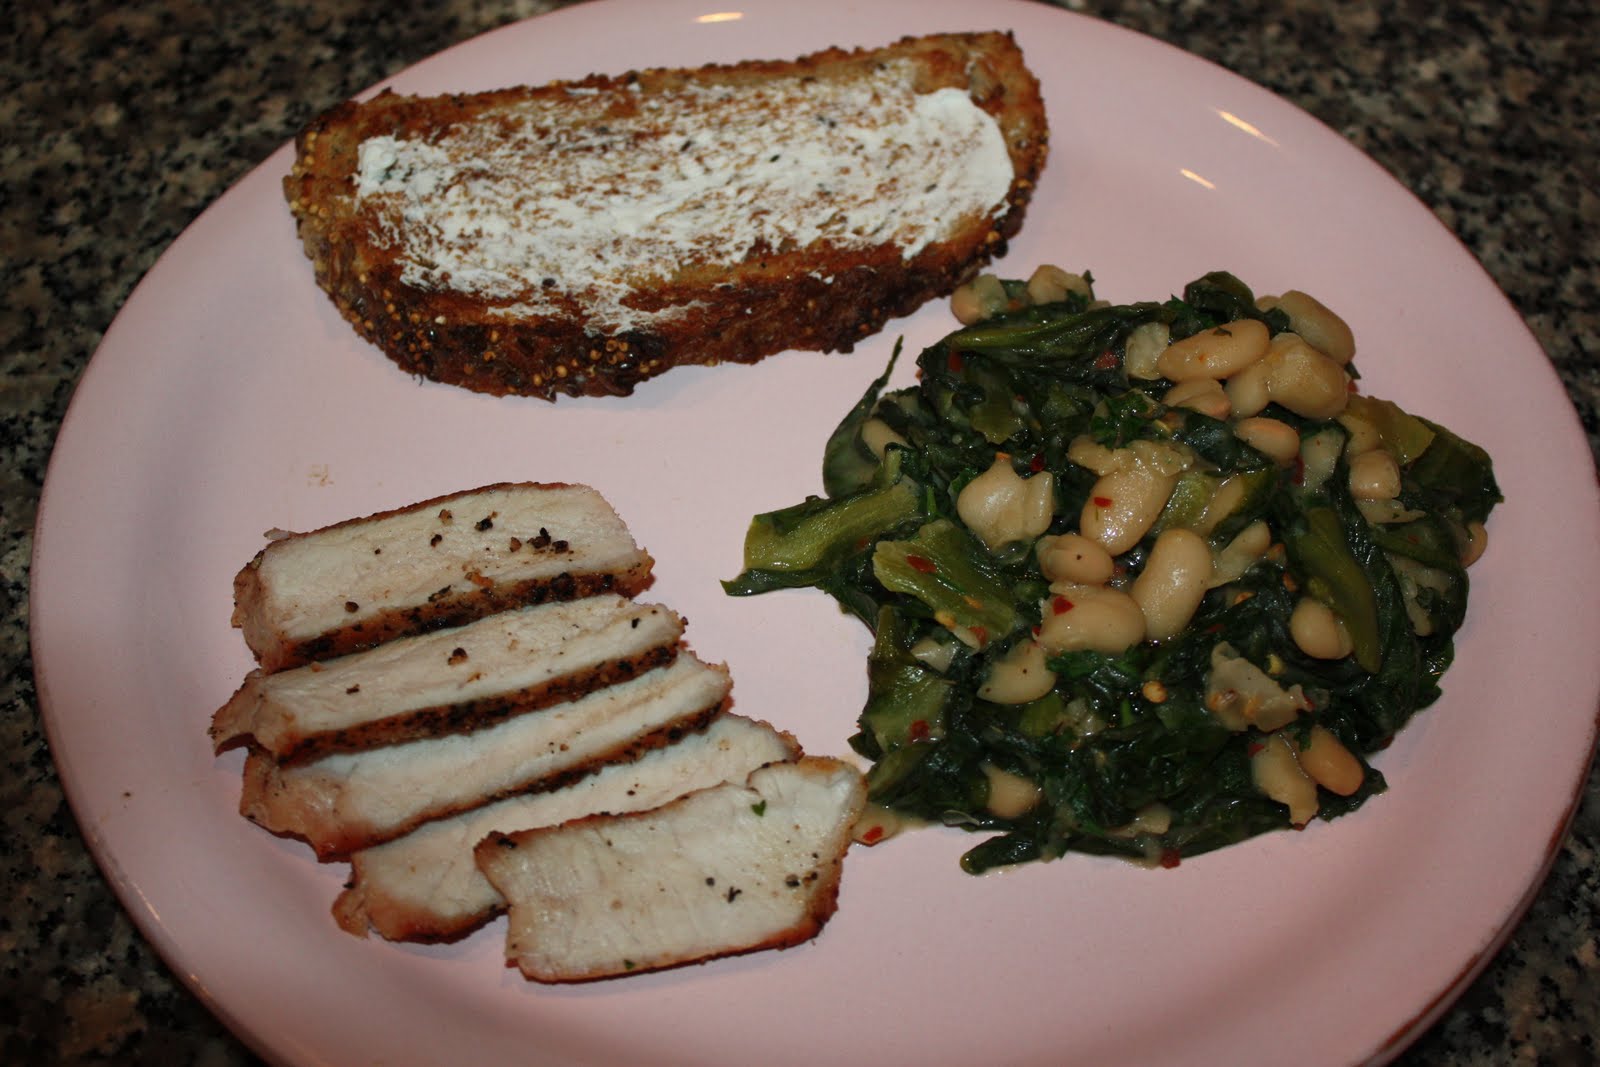
The bread here was from the CSA as well
The Artisan Kitchen

Ingredients :

King Arthur Flour
Grain Mix (rolled oats, flaxseed, cracked wheat, rye flakes, steel (can’t read the word), millet, sesame seeds barley)
Whole wheat flour
Durum Flour
Seed mix ( flaxseed,sunflower seeds, millet)
Water
Salt
Yeast

One bite of this bread assures me that I could NEVER eat low carb.  I lightly grilled a few slices with a bit of olive oil then spread a thin layer of goat cheese. Yum!!

xoxox

A shameless plug

I started a new food / recipe blog…  This time hopefully a little bit healthier than the cookies

Our First CSA

No worries…. the holidays will be here before you know it & I have many new cookie recipes ready to go!

oxox

Rhubarb Crunch Recipe

So my first recipe isn’t from our goodies from the CSA.. It is from my own veggie garden.

Here is my Rhubarb plant. This is a cutting form my husband’s grandmothers’ plant.. I forget how far it goes back, I need to find that out.

My mother-in-law gave me this recipe last year and it is simple, made with ingredients that I always have on hand and is perfect for a summer afternoon.

Rhubarb Crunch

1 cup flour
3/4 cup oatmeal
1/2 cup butter; melted
brown sugar
1 tsp. cinnamon
4 cups chopped rhubarb
1 cup sugar
1 cup water
2 Tbsp cornstarch

Preheat oven to 350. Spray a 9 in pan with cooking spray.
Mix first 5 ingredients ( flour-cinnamon)  together until crumbly. Pour half of mixture into prepared baking dish & gently press to make a crust.

Cover the crust with the rhubarb.

 In a cold saucepan, mix water, sugar & cornstarch; whisk until cornstarch is dissolved. Bring to a boil over medium-high heat until thickened.

Pour over rhubarb then crumble remaining topping on top.

Bake at 350 for 1 hour.

YUM!

This would be perfect with a little bit of vanilla ice cream 😉

Enjoy!

xoxo

The Stars of the Farm!!

Here they are!!!

 Plato & Einstein!!

Chickens!!

and Ali!!! ( making avery strange face, I might add)

That cabbage right there .. the third one in.. that’s next weeks’ cole slaw 😉

Plato & Einstein back to back..

oxox

Week 2

This is all so exciting!!!  I love food!!   Here is what we received this week !!

We picked peas this week 😉

Scott & I picked 2 pounds!!  They were delicious. I made a proccuito-wrapped pork tenderloin on Saturday night & sauteed the snow peas very lightly in butter , salt & pepper. That was it… they didn’t need anything else. Just delicious.

Here is everything from week 2!!

xooxox

And so it began….

This year my husband, Scott & I decided to join a CSA.. What is a CSA? It has nothing to do with a crime scene as some have asked… it stands for Community Supported Agriculture.

What does that mean? A local farmer will offer pre-paid ‘shares’ of that years’ food crop to a pre-determined number of families. In exchange, once a week the families go to the farm & pick up their share of that week’s crop. More CSA information  I had heard this through friends so I did some research & we picked Plato’s Harvest Organic Farm.  Dave & his wife, Sasha  clearly have a passion for what they do.
We are into our second week of the 2010 season & I am beyond thrilled that we chose to join. The produce that we receive is amazing.  The picture above is what we received week one.  There is an optional bread share that we did choose to join as well. The strawberries pictured were not part of the share, but purchased from his neighbor, organic & delicious!
We have received foods that we have never tried before, which is really exciting for me! These are garlic scapes. I sauteed  them with a little bit of butter & olive oil, seasoned with salt & pepper, and boy, were they a hit!!
Many things of the farm are Pick your own  (PYO). The first week was herbs.  I cannot tell you how thrilled I am to have a jar of fresh herbs in my fridge!!!
My main intent of this blog is to post recipes & the information that I’ve research about the new new-to-me vegetables… The first few posts may not have a lot of information, but I promise to come back & fill in more information!
xoxo

*Sort of* a tutorial

A friend of mine is also trying to learn to make the paper-pieced hexagons.  I have tried explaining it to her & decided that a short visual explanation might make more sense, since I really don;t know all of the proper terms & I have just started this myself.

From the research that I’ve done, there are many ways to do this; this is what I have found to work for me. If this doesn’t work for you, by all means try something different 😉

I purchased my paper hexagons  I’m using 1 inch hexagons.  Why? Just because 😉

I started by rough cutting my pre-washed & pressed fabric a seam- allowance bigger than my paper piece. It doesn’t have to be perfect,  the straight-edge of the paper will create a nice, even line.

Next I place the paper piece on the wrong side of the fabric & use a straight pin to hold in place

 Then I  fold two pieces of the fabric over one corner, sort of like wrapping a present

I then use my thread ( I’m using white hand quilting thread) to pick up both pieces of the fabric in the corner, without going  through the paper

I stitched twice over the same area, giving the thread a brief tug to make sure that it was secure.

Next I move to the next corner, same thing.. I just make sure that my thread is taught, but not pulling.

Again, 2 stitches through both pieces of fabric

When all corners are stitched, I do a final stay stitch then cut the thread.

Make another (or 50, they ARE addicting!!) hexagons.

To attach them together, place right sides together & with co-ordinating fabric whip stitch the edges together.

Continue whipstitching the edges together in desired pattern..

Here is a view of the back…

I have not finished this flower yet, but when I do, I will update the blog ( I promise, it won’t be long)

When flower is complete, then paper pieces can be removed & reused. I think that I will only remove the inner-most pieces so that I have ‘body’ to work with when I get to the point of actually assembling all of my flowers to be into my quilt.

I hope that I haven’t confused you too much.. I welcome feedback from anyone who has suggestions on how I could improve these…

xoxoxo

michelle

a walk to remember

It’s been awhile since I posted and I really don’t have a good excuse. Actually I have many, but none that I will bore you with 😉

Thanks to all who supported me by buying raffle tickets for the quilt to benefit my walk. The winner was Blaine Schnare .. I am currently working on the label & will ship it soon. Congratulations!!

ali &I at the end of 40 miles!

best cheerleader.. EVER!

I will be making another next year to raffle.. possibly 2, since my daughter, Alison will be walking with me as she will  finally be  old enough 🙂

Some of you may already know, but I am scheduled for a long- awaited surgery at the end of this month that will have me incapacitated for the majority of the summer. Since I do not sit still well at all, I have been busy trying to find projects to help me occupy my 6 weeks of recovery.

One of my projects is learning to English Paper Piece.

My friends at Tumbleweed Quilts have helped me get started on this process.  What a great group of  ladies!!!!
Making hexagons is something that  I believe can only be done by hand, so it is the perfect  project for me to try this summer.

Here is the beginnings of my hexagons

hexagons

I found this quilt online  and the pattern is Grandmother’s flower garden.  I am trying to find what website that I found this on, but cannot. I will continue to try and in the meantime give credit to whomever made this beautiful quilt!

Given the nature of the quilt, I wanted to make mine with ‘antiquey’  types of fabrics.  The ladies at Tumbleweed Quilts assisted me in picking out circa 1930’s reproduction prints..

1930’s reproduction fabrics

With this print being the center of each flower!!

I am so excited about making this quilt. From the little bit that I have done while learning using my stash, I can tell you that these are VERY addicting.

I have other projects planned as well & will keep up to date with my progress on my blog 🙂

Thanks for reading & stayed tuned for my very next project… decorating my crutches.. I get them tomorrow.

(you didn’t think that I would have boring crutches, did you? )

xoxox